Session Notes
Key Words
green grunge background
Links
https://www.artstation.com/artwork/om6PW
References
https://images.freecreatives.com/wp-content/uploads/2016/03/Dark-Green-Grunge-Wallpaper-Background.jpg
https://cdna.artstation.com/p/assets/images/images/005/635/440/large/antone-magdy-final.jpg?1492620328
https://cdna.artstation.com/p/assets/images/images/005/773/198/large/anthony-jones-019.jpg?1493672440
https://cdnb.artstation.com/p/assets/images/images/000/043/131/large/blade_fin2.jpg?1398651565
https://cdna.artstation.com/p/assets/images/images/000/043/132/large/blade_fin1.jpg?1398651568
http://spiralgraphics.biz/packs/crystal_rough/?5#anchor
http://polycount.com/discussion/36825/freezing-uvs-in-maya
http://i1007.photobucket.com/albums/af199/smiljan66/reelchar_zpse34424ff.jpg
By Sebastian Jones
Taking a moment to resume progress with the character I have made sure each part of the model's vertices, uv mapping, textures and topology areas clean and organised as possible before attempting to pose the character in Zbrush. using a plugin named Transpose
However, while successfully importing a clean model of my character into Zbrush using the spheres to rig the character proved challenging considering I am still new to some of Zbrush's features and thus proved far too time-consuming for the academic deadline.
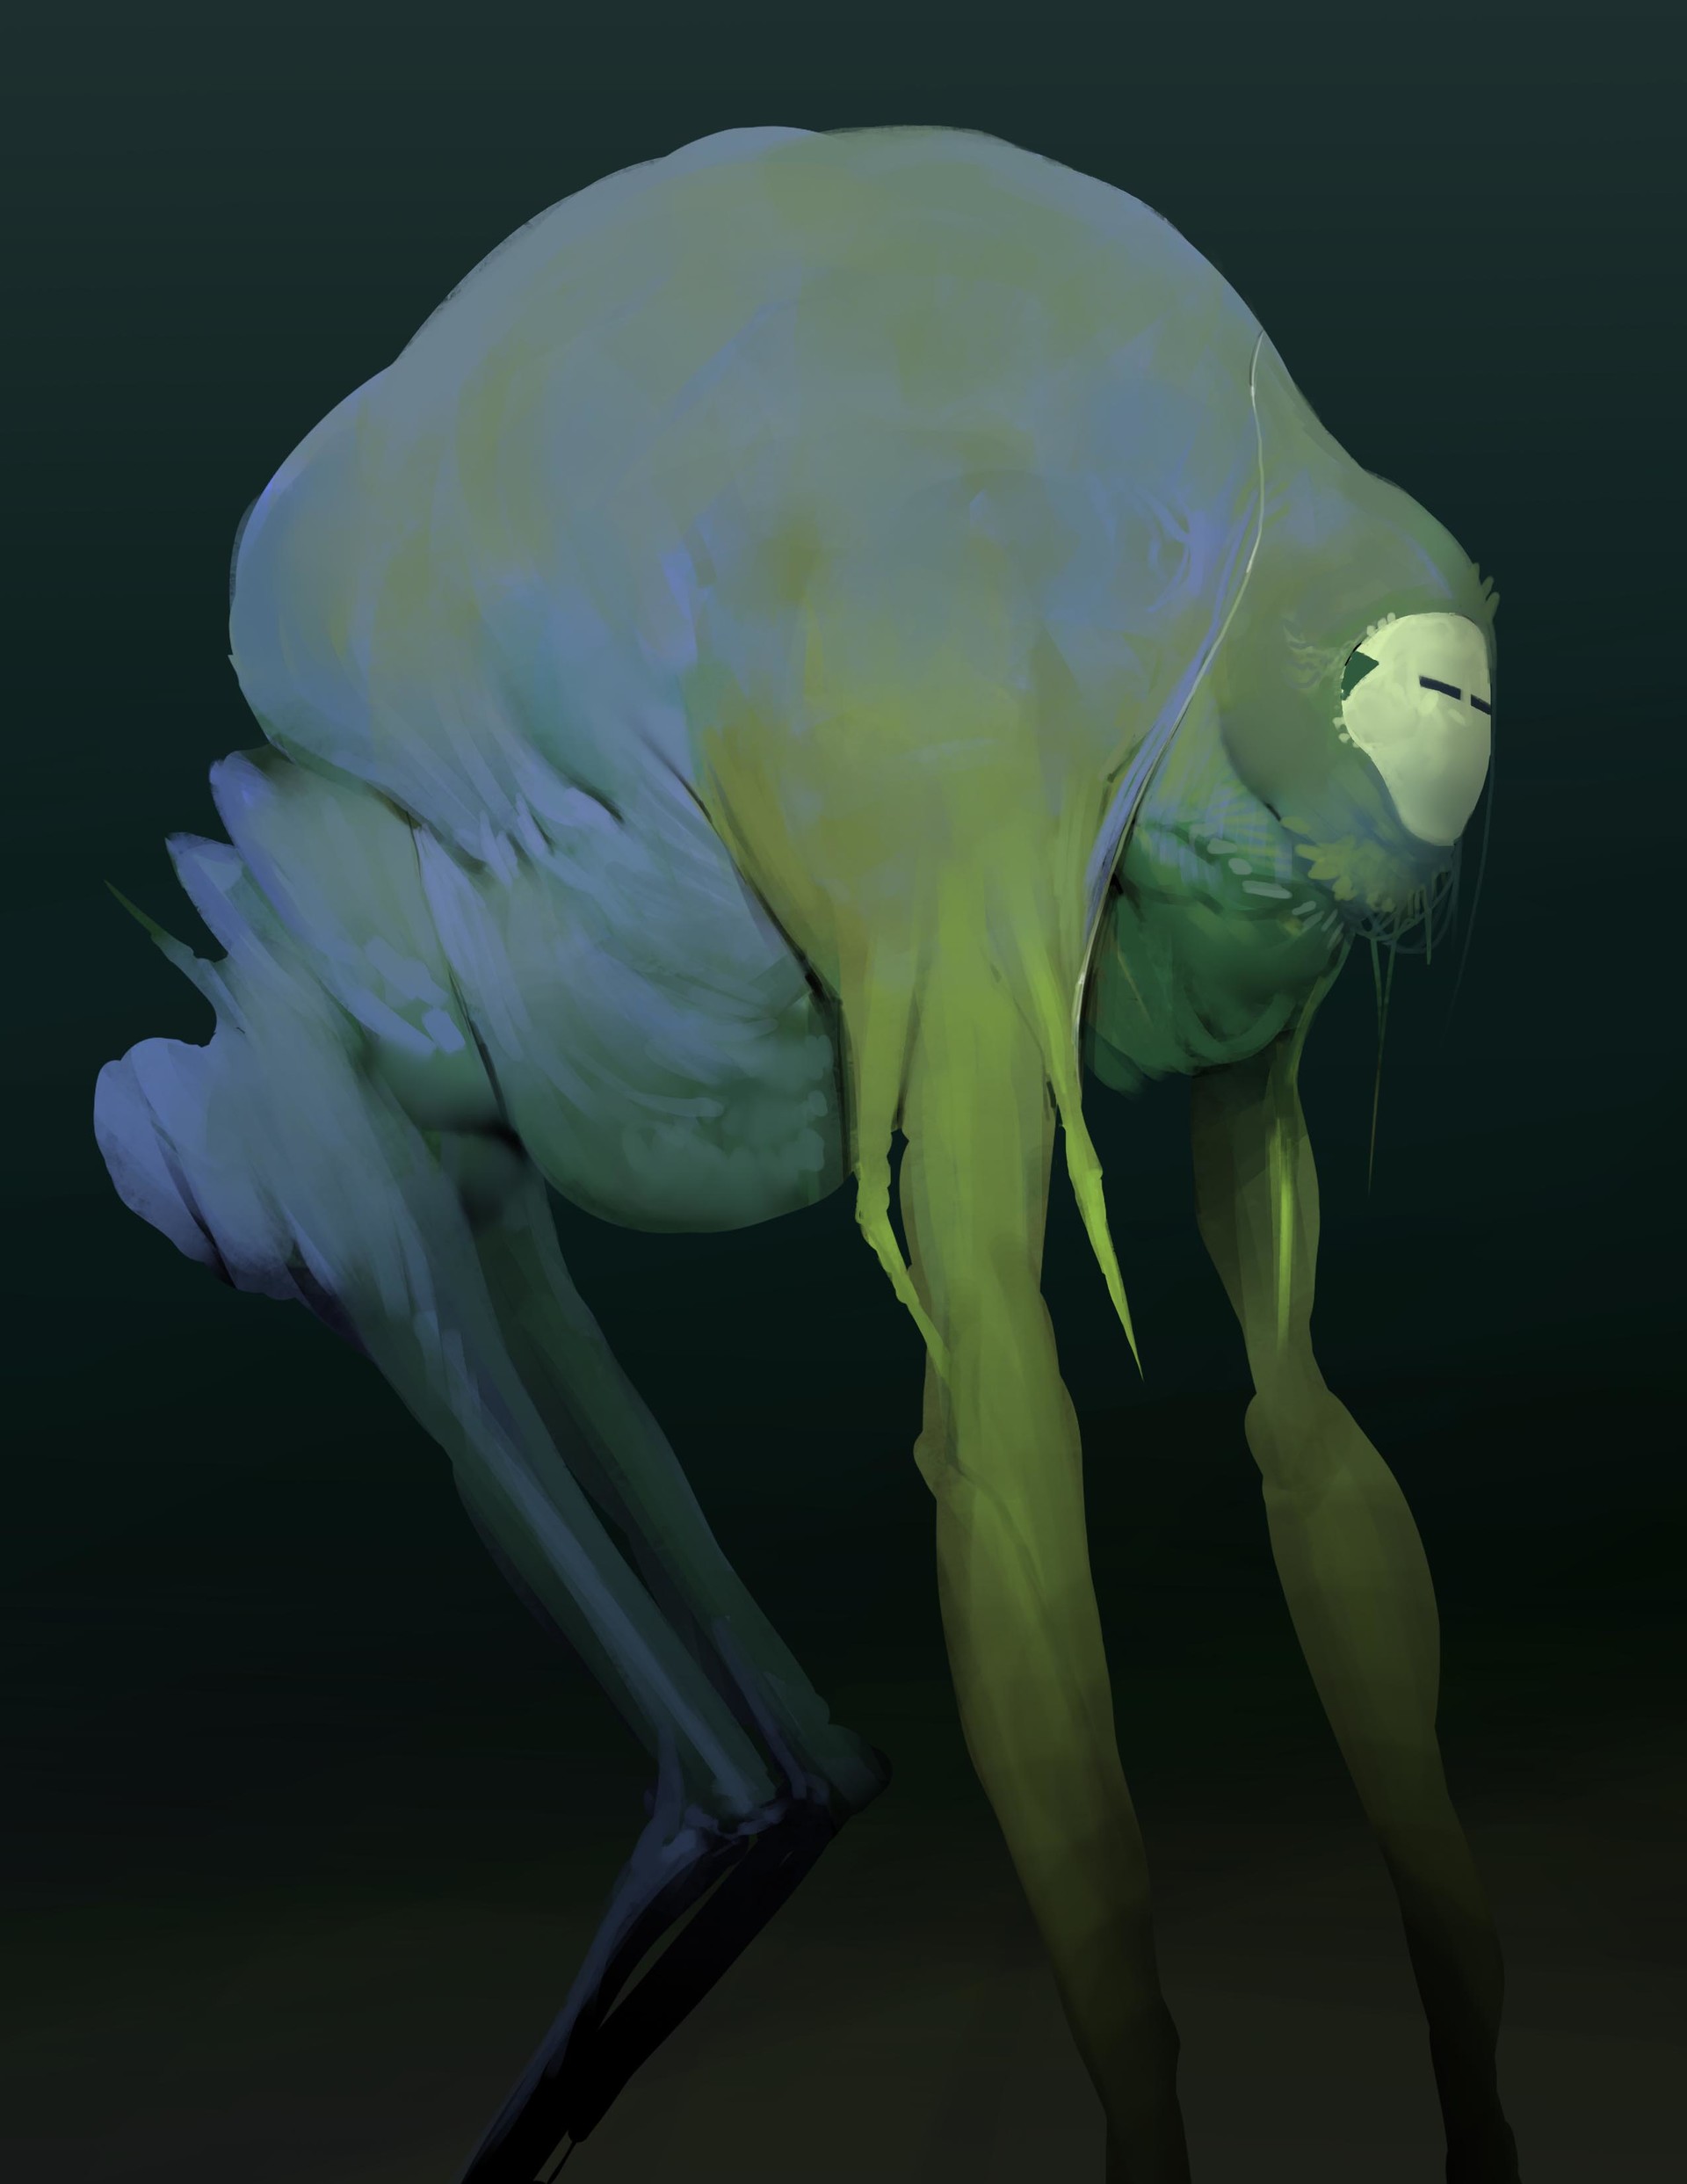
Nevertheless, I have downloaded KeyShot 5 and attempted to render features of the nomad such as the tribal mask and truly show it off by making the render look as detailed as possible. Browsing ArtStation once more and observing others renders I pasted and edited a lovely forest green grunge background along with applying subtle lighting effects I learned from Photography to create a colour and vibrant render sheet.
Henceforth, after combining some further programs such as Keyshot and effects in photoshop I am pleased with the new model and new renders which both colourful and clear of what the subject is.
Henceforth, after combining some further programs such as Keyshot and effects in photoshop I am pleased with the new model and new renders which both colourful and clear of what the subject is.
Key Words
green grunge background
Links
https://www.artstation.com/artwork/om6PW
References
https://images.freecreatives.com/wp-content/uploads/2016/03/Dark-Green-Grunge-Wallpaper-Background.jpg
https://cdna.artstation.com/p/assets/images/images/005/635/440/large/antone-magdy-final.jpg?1492620328
https://cdna.artstation.com/p/assets/images/images/005/773/198/large/anthony-jones-019.jpg?1493672440
https://cdnb.artstation.com/p/assets/images/images/000/043/131/large/blade_fin2.jpg?1398651565
https://cdna.artstation.com/p/assets/images/images/000/043/132/large/blade_fin1.jpg?1398651568
http://spiralgraphics.biz/packs/crystal_rough/?5#anchor
http://polycount.com/discussion/36825/freezing-uvs-in-maya
http://i1007.photobucket.com/albums/af199/smiljan66/reelchar_zpse34424ff.jpg
By Sebastian Jones
Comments
Post a Comment