Session Review
Continuing from yesterday evening, I proceeded to browse for concept art of SWTOR; Knights of the Fallen Empire and observe the detail of their models and how the composition of the final art renderings, in particular, the model of one of the main characters Valkorian.
References
http://dulfy.net/2015/07/11/swtor-sdcc-story-panel-shows-fate-darth-malgus/
http://dulfy.net/wp-content/uploads/2015/07/I-Twins-4.jpg
http://dulfy.net/wp-content/uploads/2015/07/I-Twins-12.jpg
http://vignette4.wikia.nocookie.net/villains/images/b/bc/Lurtz.jpg/revision/latest?cb=20130903192308
http://www.digitaltutors.com/learningpath/108-Sculpting-Human-Anatomy-in-ZBrush
By Sebastian Jones
 |
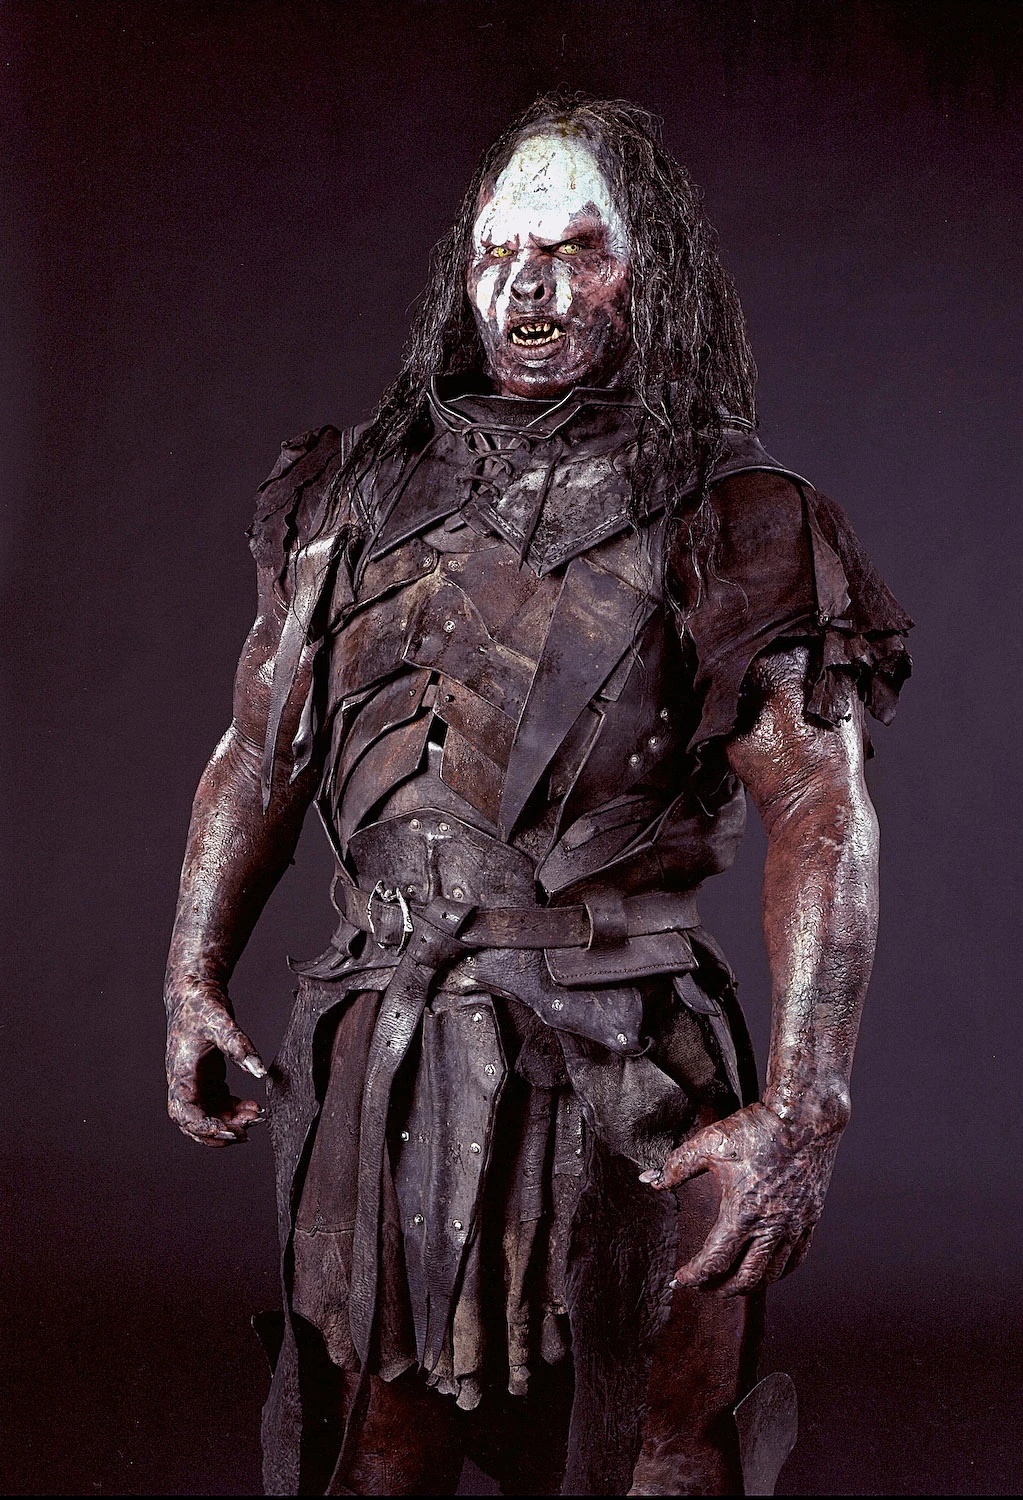
| Nomad's neck currently looks similar to Lurtz (right) |
Continuing from yesterday evening, I proceeded to browse for concept art of SWTOR; Knights of the Fallen Empire and observe the detail of their models and how the composition of the final art renderings, in particular, the model of one of the main characters Valkorian.
I studied the detail of the Valkorian model and compared its features and anatomy to my won model, in particular, the detail of his facial features since several class members and the lecturer have commented on making the head more organic and less square and carved looking in appearance.
 |
| Similar anatomy desired for Nomad like the character Arcann |
Considering the level of detail of the SWTOR 3d models, I returned to Maya to extrude the neck of my Nomad and shape and mould the head until I achieved a slender neck similar to the Arcann head bust and my own neck.
However, after extruding the necvk the results were more muscular and bulky similar to the Uruk Hai necks from the Lord of the Rings trilogy. After using the same methods I used for the arms and snapping the neck to the torso,
I proceeded to scale and adjust both the edges and vertices of the neck further until the model had a pencil neck and a muscular curved shoulder.
Overall, I am pleased with thi sessions to result because the tedious part of attaching the neck to the body has been completed all that remains for the neck is to tweak and adjust it further until it looks more human and less like an Ork.
http://dulfy.net/2015/07/11/swtor-sdcc-story-panel-shows-fate-darth-malgus/
http://dulfy.net/wp-content/uploads/2015/07/I-Twins-4.jpg
http://dulfy.net/wp-content/uploads/2015/07/I-Twins-12.jpg
http://vignette4.wikia.nocookie.net/villains/images/b/bc/Lurtz.jpg/revision/latest?cb=20130903192308
http://www.digitaltutors.com/learningpath/108-Sculpting-Human-Anatomy-in-ZBrush
By Sebastian Jones
Comments
Post a Comment